
These past couple of months I have concentrated on honing my existing skills and learning as much as I can about anything related to cake decorating. Over the Easter holidays I packed my bags and headed up to the Netherlands for a topsy turvy teapot course. When I saw this course advertised I enthusiastically signed up at once, as I still have painful memories of having my daughter's topsy turvy cake collapse in front of all her friends. I was determined to learn how to do this right! Then to have the Kaysie Lackie of The People's Cake (http://www.thepeoplescake.com/) in Seattle teach this course really was the crowning glory of it all.
At this point a lot of you non-cake people are probably wondering, Kaysie who? Well let me enlighten you: Kaysie Lackey is a young, very talented cake artist who is probably best known for winning the Food Network Challenge not once, but three times! She has also won several cake competitions and has been featured in several magazines. These days she tours the world giving cake courses while running her own cake business. A very impressive young lady indeed.
On the first day of the course we concentrated on creating plates of various sizes out of gumpaste, and making the teapot spout, handle and the teacup handle. Sounds like an easy day, but believe me, we worked hard all day. We had to make everything in duplicate, or even triplicate (except the plates) to allow for breakages. Thank goodness we did, because of some bizarre quirk the gumpaste was not behaving as it should and took much longer than usual to set firm. This made them more fragile, too, so there were a fair number of breakages on the day we put things together.
We also spent a lot of time cutting and carving foam core of various thicknesses to form the base of the teapot and teacup. I learned to dislike carving foamcore intensely! Still, I do appreciate it's surprising strength and versatility. The next step was stacking and carving our cakes. Below is the bottom of my teapot in all it's naked glory.

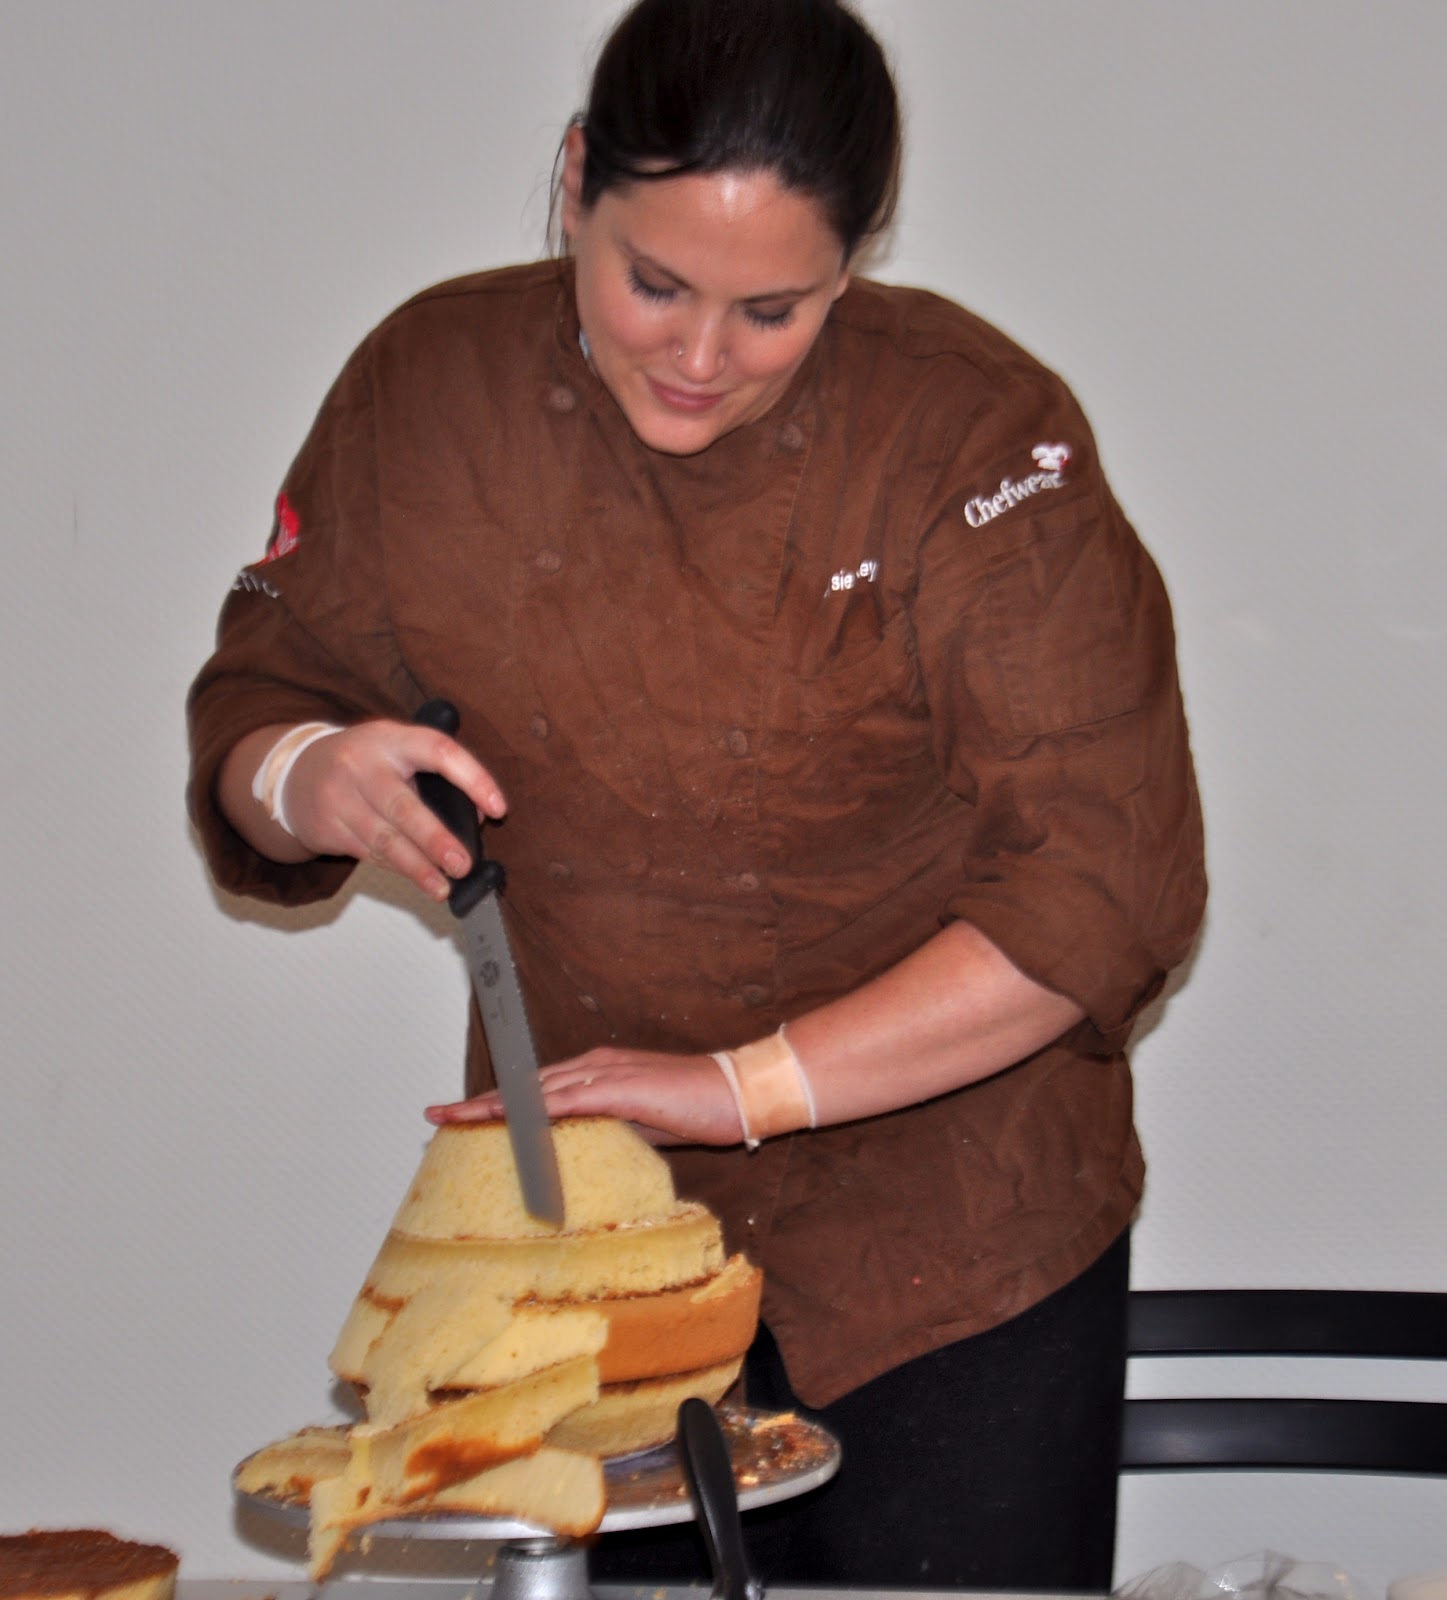
Kaysie of course made carving look sooo easy and effortless, as you can see in the next picture! What she did in just a few minutes took me forever!
Day two was spent covering the teapot with fondant, making the lid and carving the teacup. We also hand-painted all the components. Being terminally indecisive, I had drawn and sketched my cake before the onset of the course. I figured that I will have gone through a lot of trouble and money to take this course, so I'd better be pleased with my end results. Ambitiously I also decided to try some folk art on my teapot; something I have literally never done before in any medium. So a couple of days before the start of the course I looked up some video tutorials and practised some strokes on my marble worktop. Then I practiced some more on a teaplate in my hotel room. The brushes that I have weren't great for the job, but when it came time to actually apply brush to my teapot, it seemed to go ok.
To my surprise I generated a lot of curiosity from my fellow course mates and there was that awkward moment when I was pressured into giving a quick demo in the middle of Kaysie's course. I did say over and over that really, I've never done this before, but that seemed to fall on deaf ears. Anyway, here's what I came up with.

Here is a picture of my naked teapot, just waiting to be painted.

Having done so much on the first two day, I was naively expecting the last day to be nice and easy. How wrong I was! First task was to construct the armature for our cakes, so out came the screwdrivers and power tools. Once the flange was securely in place we covered out baseboard in black fondant and then proceeded to make cobblestones. Kaysie showed us how to make realistic looking stone using three colours of fondant and three colours of dilute paint. The finished result was surprisingly realistic.

Once that was done we covered the bottom tier (in our case a dummy cake) with white chocolate fondant for the tablecloth. Then came the exciting part; stacking everything together! In the midst of all this hullabaloo a reporter from the local newspaper came!!! He took loads of pictures, interviewed the organizer of this course and then filmed a sequence to be aired on the web news page! So I got my 30 seconds of fame on this newsclip, haa haa!

The last thing we did was make a plate of sandwiches and pastries to hang precariously over the edge of the table. We were again given free rein to do whatever we wanted. In the end we all shared our little cakes. So the little filled cookies and liquorice allsorts are from another course member. In return she has some my swiss roll.

Once we had all completed our masterpieces, a great deal of time was spent taking pictures; pictures of our cakes individually all together, with Kaysie's cake, with us individually, group shots etc etc.
All in all it was a very intense three days of tuition in which I believe we all learned so very much. Kaysie was an excellent teacher who demonstrated with humour and patience throughout.
By the way, I transported this cake home almost fully assembled (only the teacup and pastry plate were removed) and it survived a 4.5 hour drive at speeds well over 120km/hr and it survived intact! Now it is gracing our coffee table at home until I can bring myself to dismantle it. In time I will redo this cake entirely out of styrofoam so I can display it indefinitely.
Thanks for stopping by!
Absolutely beautiful work Sonja!! Great to hear that it arrived intact as I how transport can be nightmarish...love the painted roses. Really turned out gorgeous!
ReplyDeleteThanks, Ewa! Learning this skill is a dream come true:))
Delete